Documentation
5-Minute Quick Start
Creating a Link
Once you're logged in with a paid account, from the Links menu, click the green plus (+) button.

From here, you have two options:
- Option 1: Create a link or set of links from a Template
- Option 2: Create a link or multiple links from a Landing Page URL

This this demo, we'll start with Option 2, Landing Page URL.
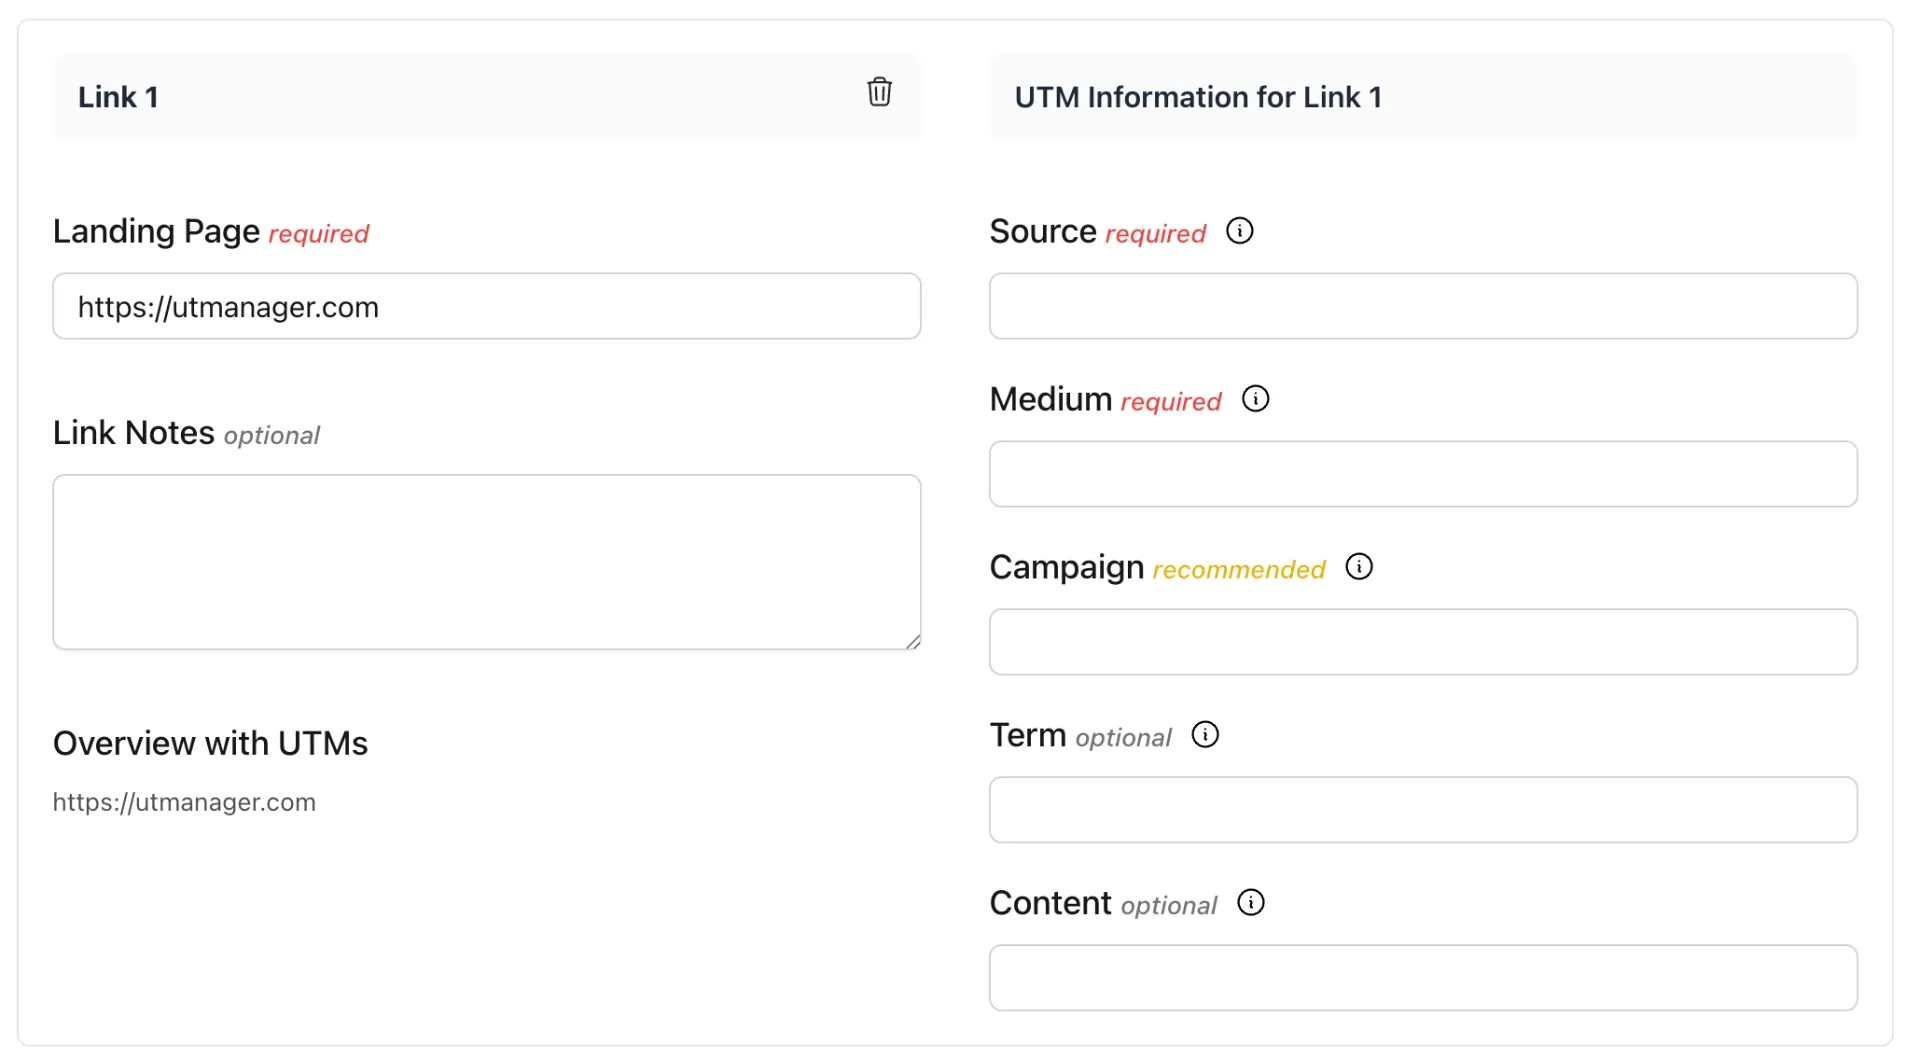
1. Click "Add Link". This will create a link using our default Landing Page URL "https://utmanager.com".
Note: You can customize this default Landing Page URL per team in the Team Settings.
2. In the left-hand column (example Link 1), you have your Landing Page, Link Notes, and Overview with UTMs which is a live preview of your URL and your entered UTM parameters. On the right, UTM Information, is where you'll enter your UTM values:
- utm_source*
- utm_medium*
- utm_campaign**
- utm_term
- utm_content
Note: utm_source and utm_medium are required while utm_campaign is recommended.

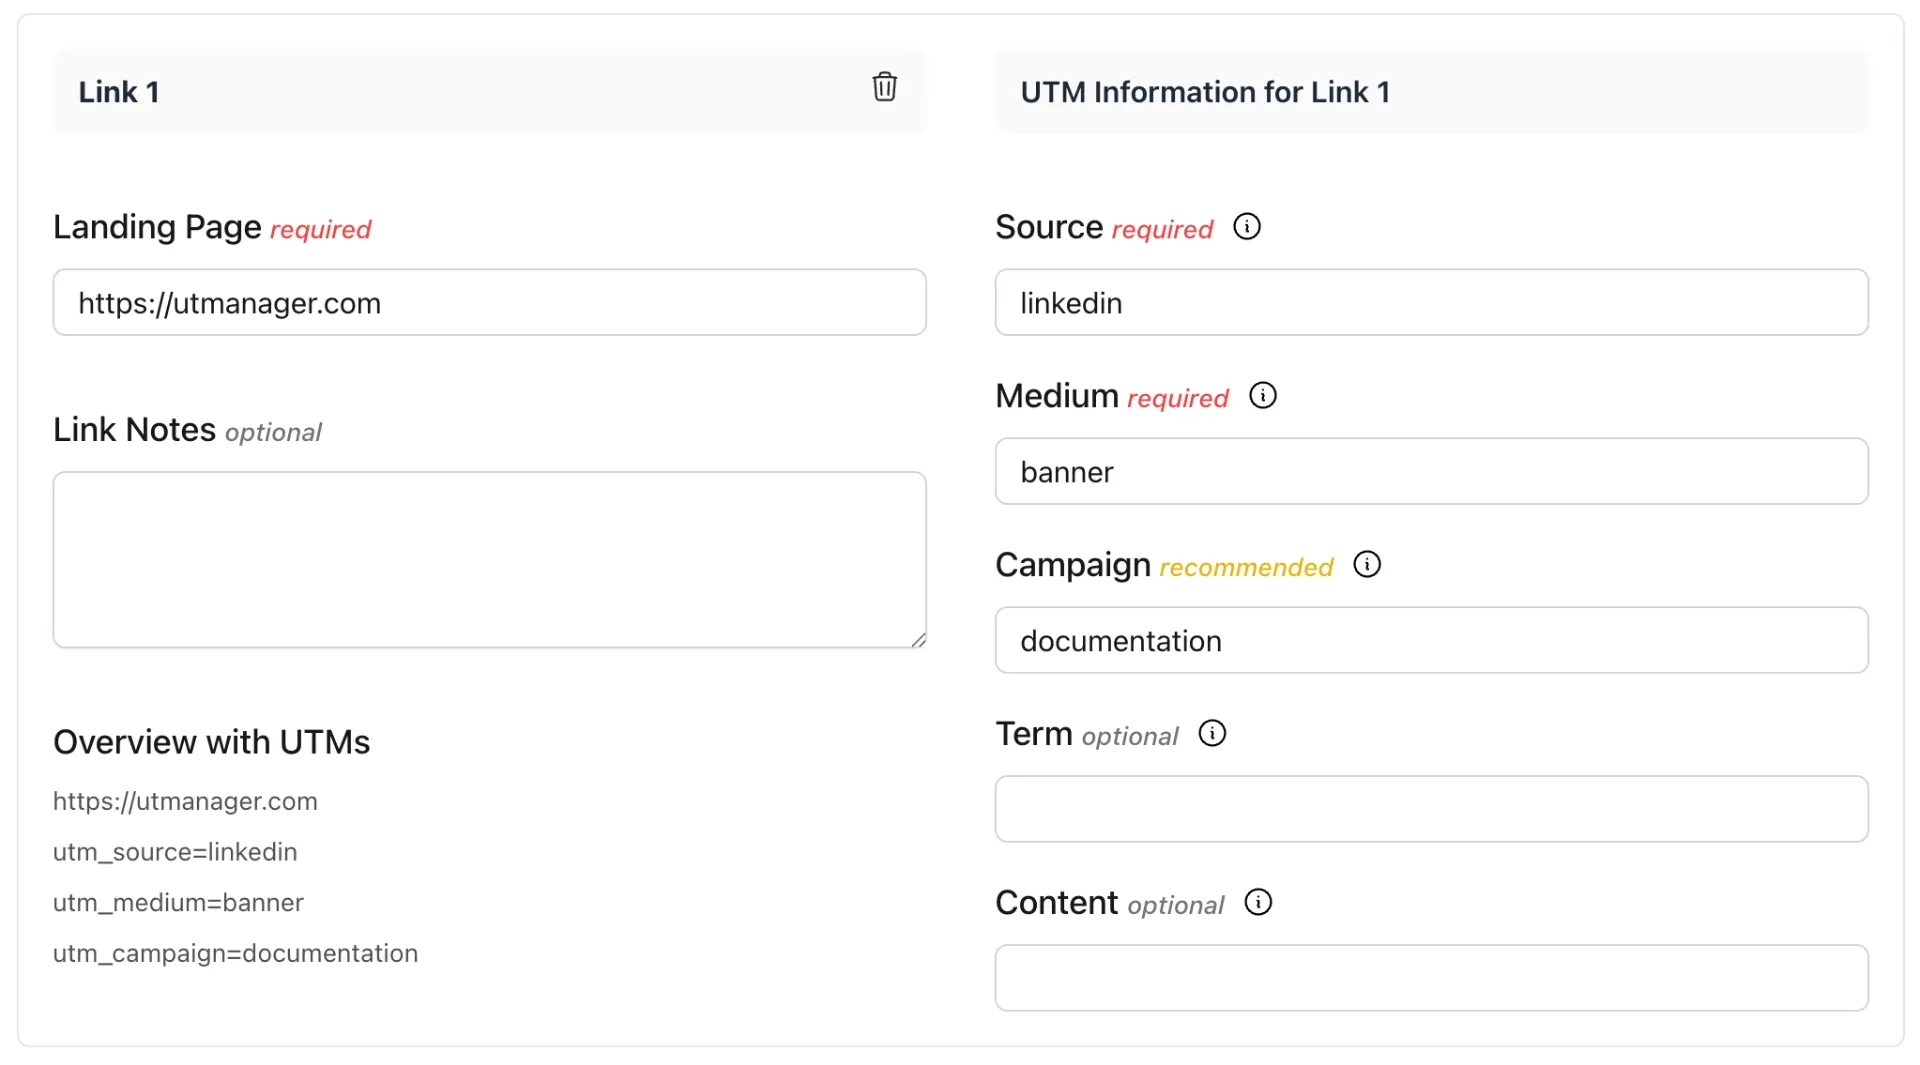
3. Entering in the utm values, the we can see the Link Overview updates in real-time. This is a preview for how the link + parameters will save.

Allows you to quickly see that we set:
- utm_source as "linkedin"
- utm_medium as "banner"
- utm_campaign as "documentation"
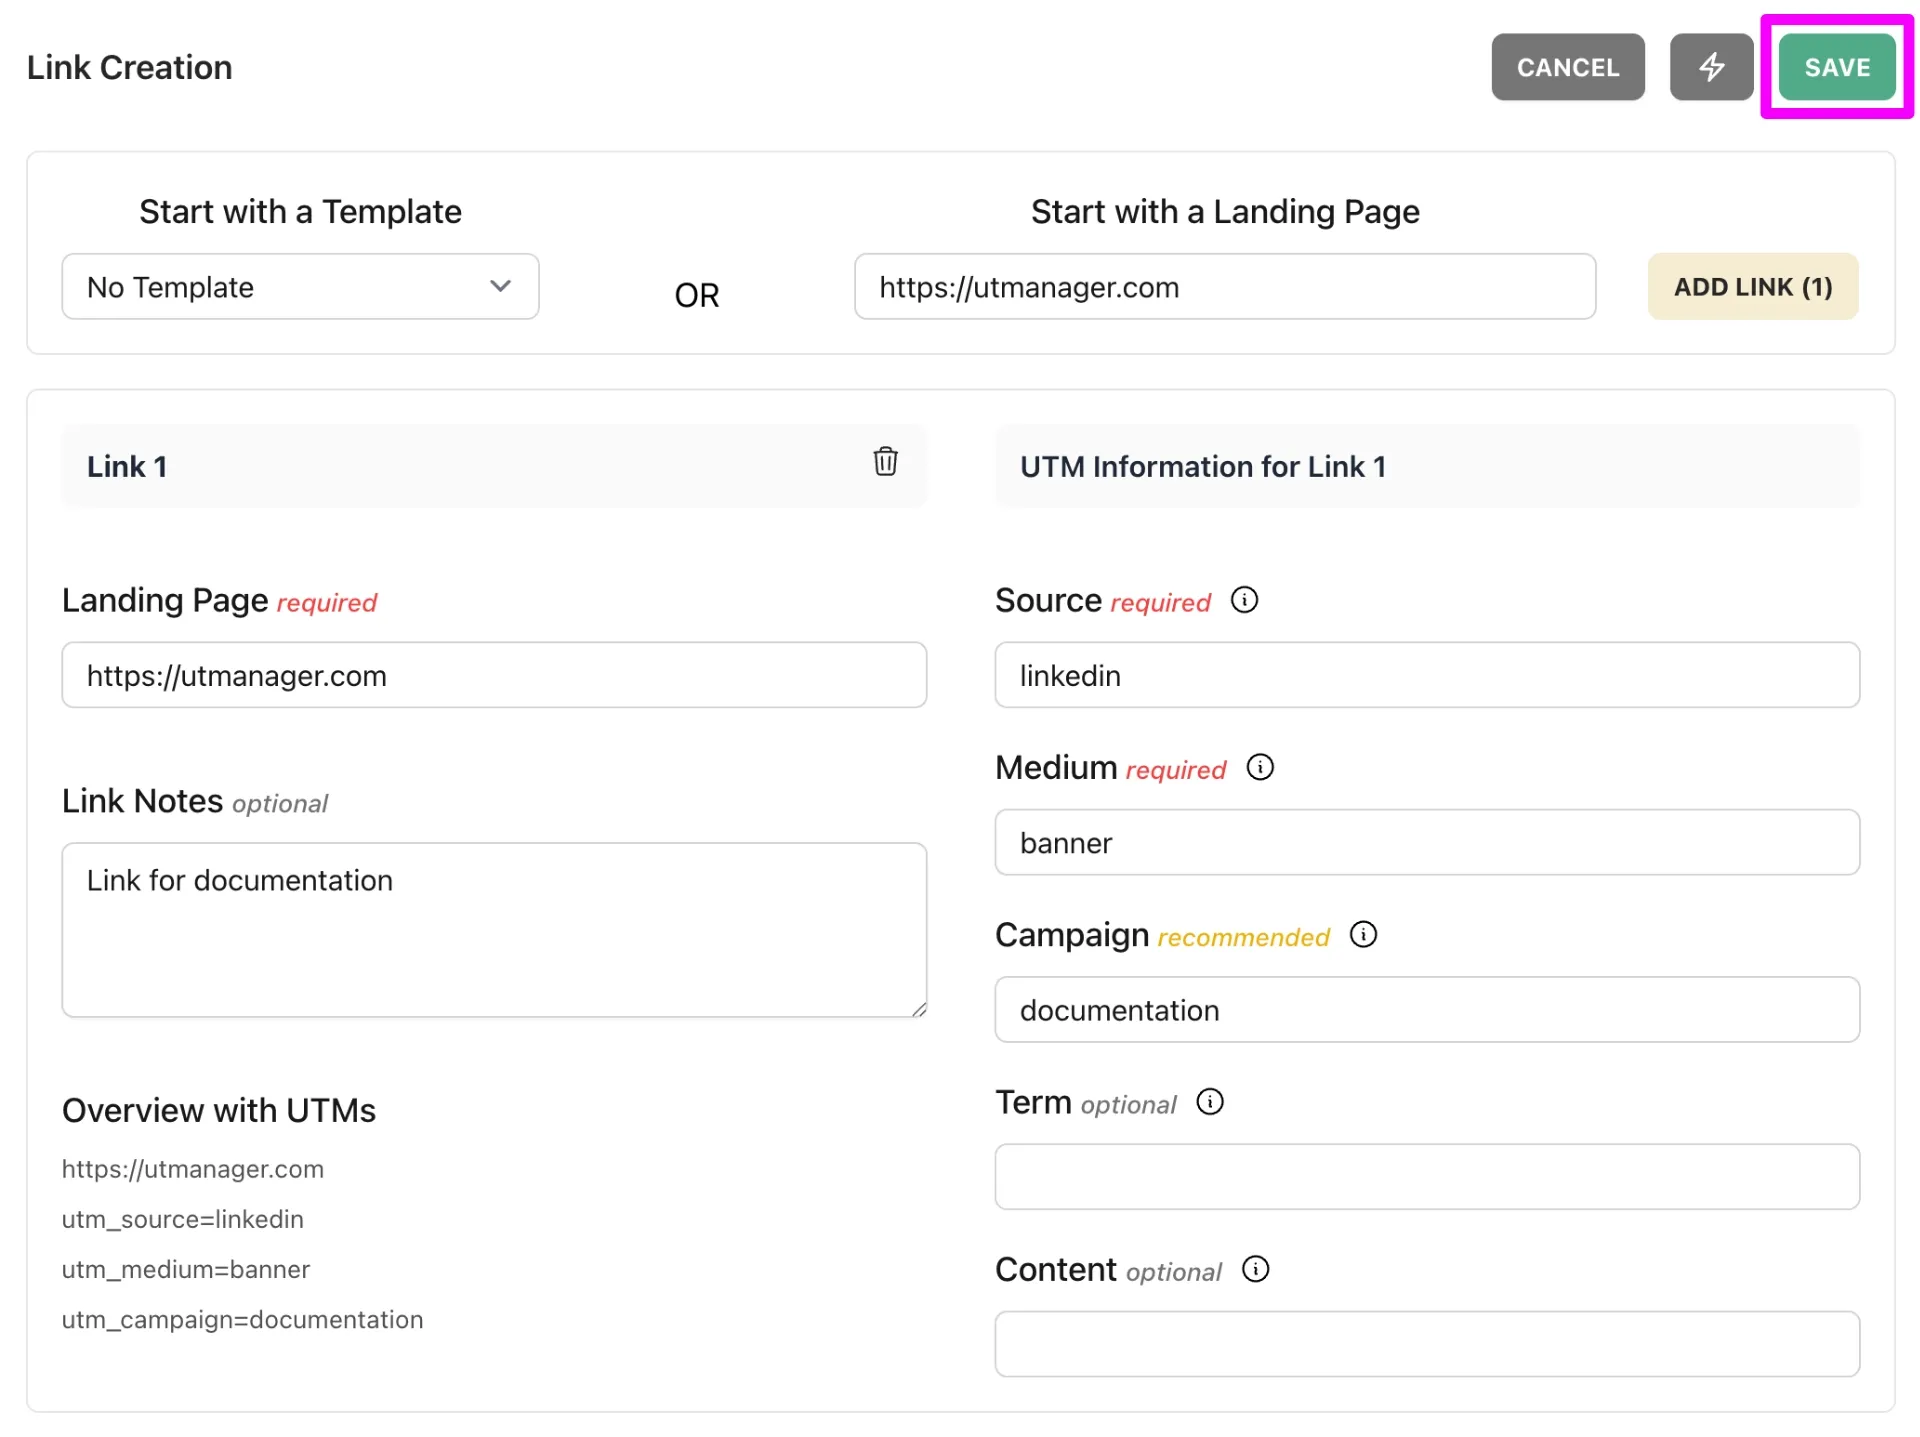
4. Back at the top, click SAVE.

Viewing & Managing Links
On save, we are redirected to the Links page with our newly created link.
For each link, there are three options:
- Edit
- QR code
- Copy
Clicking the copy button will automatically add the link and utm parameters to our clipboard.
https://utmanager.com?utm_source=linkedin&utm_medium=banner&utm_campaign=documentation
And that's it!